When people estimate deck screws, they often start with the total box count. That is useful, but it does not answer the question that usually comes up on site: how many screws does each board actually need?
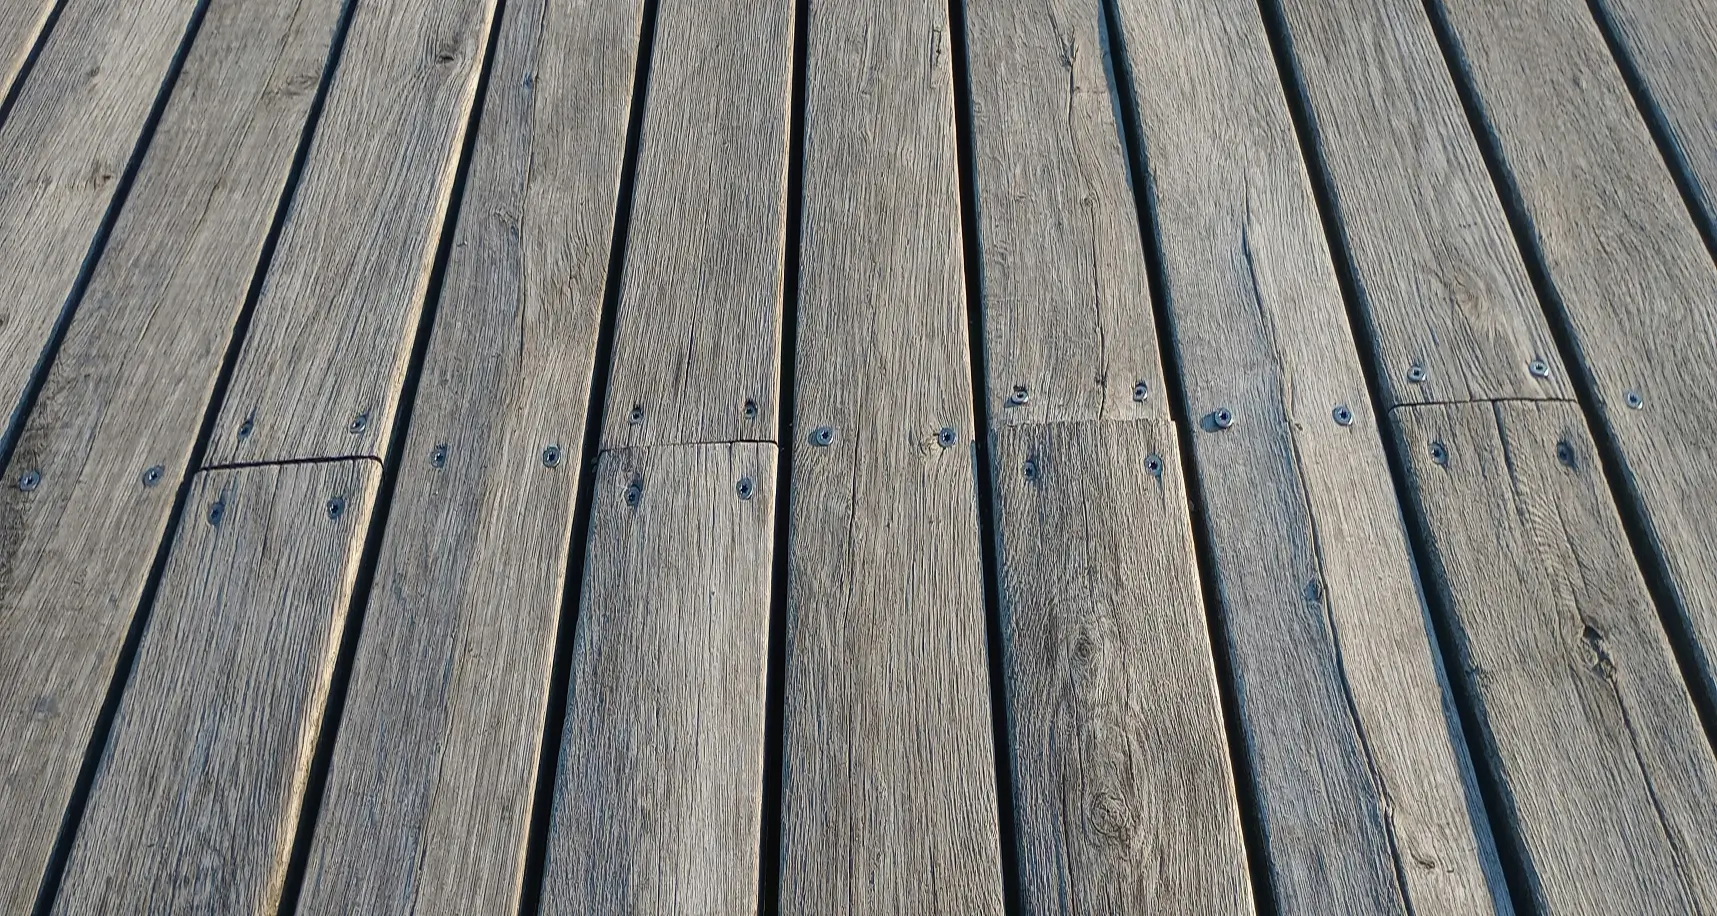
The practical starting point is simple. For a standard face-fastened deck board, you will usually use two screws everywhere the board crosses a joist. That pattern gives the board support on both sides, helps reduce twisting, and keeps the surface looking more even.
It is still important to check the board manufacturer and fastener brand guidance before you buy materials. Composite boards, hidden fastening systems, and some specialty profiles can change the fastening pattern.
The usual starting pattern for face-fastened boards
For many wood deck projects, the normal pattern is:
- 2 screws at each joist for every full-width board
- consistent screw alignment from board to board
- extra care near board ends to reduce splitting
If one board crosses 10 joists, that board will normally need about 20 screws. If it crosses 14 joists, it will normally need about 28 screws.
That is why joist spacing matters so much when you estimate fasteners. Tighter framing usually means more fastening points and a higher total screw count.
A quick way to estimate screws per board
Use this simple formula for standard face-fastened decking:
number of joists crossed × 2 = screws per board
Then multiply that by the number of deck boards in the field of the deck.
A basic example:
- one board crosses 12 joists
- each joist gets 2 screws
- that board needs about 24 screws
If your deck layout uses 30 similar boards, the field boards alone would need roughly 720 screws before you add waste, stairs, border boards, or repairs.
This is also why a total screw estimate and a per-board estimate should be used together. The per-board pattern helps you understand the layout. The full-project estimate helps you buy materials with less guesswork.
Why two screws per joist is the common rule
Using two screws at each joist helps with more than simple holding power.
First, it helps keep the board flatter over time. A single screw can allow more rotation or cupping, especially as the decking dries and moves with the weather.
Second, it spreads the holding force more evenly across the board width. That can give the deck a neater surface and reduce the chance of loose-feeling boards later.
Third, it creates a fastening pattern that is easier to repeat accurately. Consistency matters for both looks and long-term performance.
When the fastening pattern changes
Not every part of the deck uses the same simple pattern.
Board ends and butt joints
Where board ends meet, the framing and fastening often need more attention. You may need shared support, extra framing, or a cleaner joint layout so the ends stay secure and better aligned.
Narrow rip cuts and edge boards
A narrow board at the edge of the deck may not be fastened exactly like a full-width field board. In those cases, the screw position needs to match the remaining board width while still avoiding splitting.
Picture-frame borders
Picture-frame layouts often need a more deliberate fastening plan because the border boards run differently from the field boards. Support and screw placement should be planned before installation, not improvised at the end.
Composite boards and hidden fasteners
Composite decking often follows a stricter installation guide. Some products use hidden clips for the field boards and face screws only at certain edges or transitions. In that case, the correct answer is not simply two screws per joist. It is whatever the system requires.
How to place the screws cleanly
Even when the count is right, poor placement can still create problems.
A few practical habits help:
- keep the screw rows visually consistent
- avoid driving screws too close to the board ends
- pre-drill where splitting is likely
- do not overdrive screws and crush the board surface
- use exterior-rated screws suited to the decking material
A deck can look uneven very quickly if the screw lines wander from joist to joist. Taking a little more time on layout usually gives a much better result.
Common mistakes that throw off screw estimates
One common mistake is forgetting that stairs, landings, borders, and small infill pieces can increase the screw count fast.
Another is assuming that every board crosses the same number of joists. That may be mostly true in a simple rectangle, but it is often not true once the design includes angles, cutouts, or extensions.
It is also easy to underestimate waste. Lost screws, stripped heads, damaged fasteners, and a few future repairs are all normal. Buying a small buffer is usually smarter than trying to finish a project with the exact calculated total.
Use the calculator to estimate the full project
Once you understand the fastening pattern, the next step is to estimate the full material list. The deck calculator gives you a quick baseline for deck boards and fasteners before you order materials.
It also helps to read Estimate Deck Screws for Your Project with a Calculator if you want a project-level quantity estimate, and What Joist Spacing Should You Use for a Deck? if you are still deciding how the framing will be laid out.
For most standard face-fastened wood decks, the practical answer is still the same: two screws at every joist for each full-width board, then adjust for the specific layout, decking product, and edge details in your build.