Deck board waste allowance is the gap between the theoretical amount of decking you need and the amount you should actually buy to finish the project. On paper, a simple deck area can look easy to calculate. In real life, you will have offcuts, trims, imperfect boards, and a few adjustments during installation.
That is why it is sensible to plan with a small buffer before ordering materials. The goal is not to buy as much as possible. The goal is to avoid a tight estimate that stops the build near the end.
What is a normal waste allowance?
For a straightforward rectangular deck, 10% waste allowance is usually a good starting point. It works well when:
- the deck area is simple and rectangular
- the boards run in one straight direction
- there are few corners, cutouts, and special details
- standard board lengths match the layout reasonably well
On a very simple deck, you may get by with slightly less. For a deck with angles, stairs, picture-frame borders, board joints, or several laying directions, 12 to 15% is often more realistic.
Why decking waste happens
Waste rarely comes from one big mistake. It builds up through small cuts and practical decisions:
- trimming board ends for clean cuts
- fitting around walls, posts, and railings
- cutting around stairs or level changes
- making board joints land properly over joists
- setting aside damaged, warped, or unattractive boards
- keeping a spare board for later repairs
This is normal in a deck project. A useful estimate should allow for real boards, not only perfect lines on a drawing.
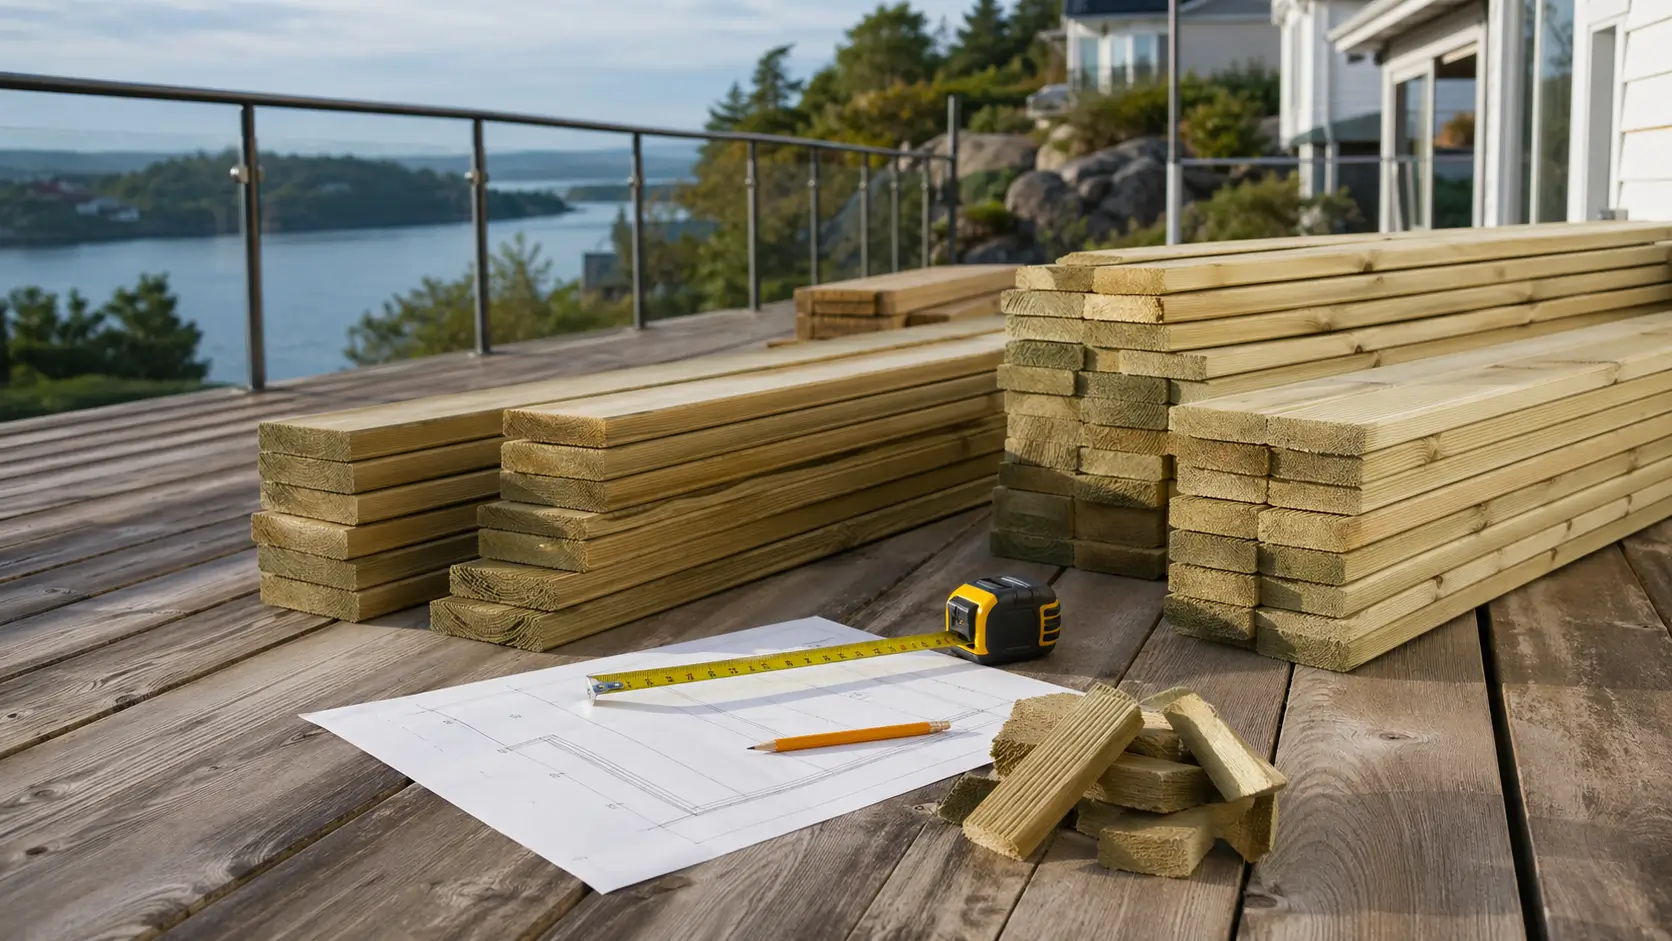
How to estimate extra decking
Start by estimating the linear length of deck boards needed for the main surface. You can use the deck calculator as a baseline because it accounts for deck area, board width, spacing, and a standard waste assumption.
Then check the number like this:
- Estimate the decking needed for the main deck surface.
- Add 10% for a simple deck.
- Increase to 12 to 15% for more cuts, borders, or angles.
- Round up to the actual board lengths sold by your supplier.
If the calculator gives 270 linear meters of decking, a 10% allowance means:
270 lm x 1.10 = 297 lmThat gives you about 297 linear meters before rounding up to available board lengths.
Board lengths matter more than people expect
Two decks with the same area can have different waste if the board lengths do not fit the layout well. A deck that is 4.8 meters wide may work neatly with 4.8 meter boards if that length is available. If you only buy 3.6 meter boards, you need planned joints and will usually create more offcuts.
Pay attention to:
- the standard lengths your supplier actually has in stock
- whether one board direction creates fewer joints
- whether offcuts from one row can be used elsewhere
- whether border boards, stairs, or edge details need separate lengths
This is why material planning should happen before the final board direction and board length are locked in.
When should you increase the buffer?
Use more than 10% allowance when the project has details that consume material. Common examples include:
- diagonal decking
- decks wrapping around corners or posts
- integrated stairs or level changes
- picture-frame borders around the deck surface
- heavy sorting for the most visible boards
- composite systems with specific clips and edge details
For these projects, a little extra material is usually better than stopping work, waiting for another delivery, and risking a slightly different batch color.
Do not buy without a plan
A buffer should still be controlled. If you simply add lots of extra boards without estimating, you may end up with unnecessary leftovers. That costs money, takes space, and wastes material.
Make a simple cut plan instead:
- sketch the deck with the main dimensions
- mark the board direction
- note available board lengths
- check where joints and edges will land
- plan where shorter offcuts can be reused
You do not need a complicated drawing. A rough paper sketch is often enough to spot impractical board lengths.
Short version
For most standard deck projects, 10% waste allowance is a good starting point. Increase the buffer when the deck has many cuts, angles, or details, and always round up to the board lengths you can actually buy.
Use the calculator first to get a realistic linear length estimate. Then adjust for board lengths, laying direction, and project complexity. That gives you a calmer order and a build with fewer surprises.