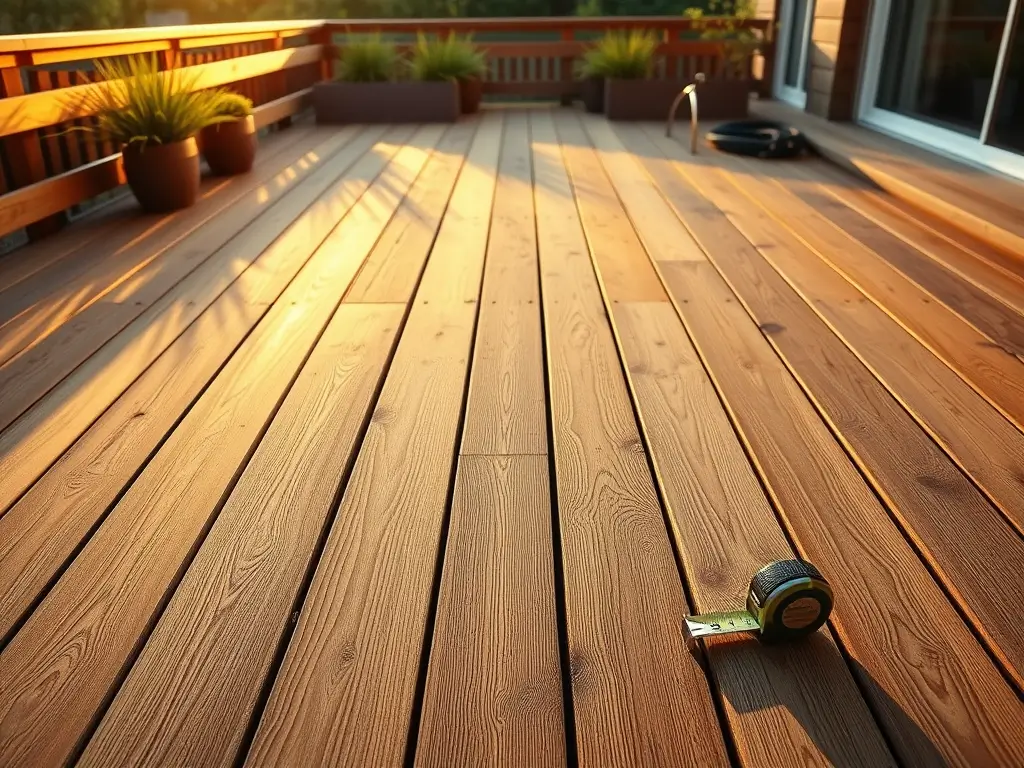
Planning and preparation
- Measure the deck: Take accurate measurements and sketch the laying pattern before you start.
- Choose the board direction: The direction affects looks, cutting waste, and drainage — see which way deck boards should run.
- Choose the right material: Decide on a wood species or composite based on style and maintenance expectations.
- Use the deck calculator: Estimate how much decking and how many screws the project needs before you buy.
Choose a laying pattern
- Traditional parallel pattern: Boards run parallel to each other along the length of the deck. This is the most common method.
- Diagonal layout: Boards run at an angle (45 degrees) for a more modern look. It requires tighter joist spacing — 40 cm (16 in) instead of 60 cm (24 in) — and about 15 % cutting waste rather than 10 %.
- Herringbone pattern: Gives a decorative look and suits smaller decks. This is a more advanced method.
- Picture-frame border: A border around the deck frames the field boards and gives a clean, finished design.
Correct spacing between boards
- Gap for drainage: Leave 3–5 mm (about 1/8–3/16 in) between boards for drainage and ventilation, adjusted for how moist the boards are — see deck board spacing: how to choose the right gap.
- Room for movement: Remember that wood expands and contracts with changes in temperature and humidity.
- Even gaps: Use spacer blocks to keep the gap accurate and consistent across the whole deck.
Fastening methods
- Visible screws: The most common method — stainless screws driven through the face of the board, two screws per board at every joist. Simple and cost-effective.
- Hidden fastening: Use hidden clips or specialty systems for a clean, modern surface without visible screw heads.
- Screw angle: Drive screws at a slight angle to reduce the risk of splitting the wood.
Tips for the installation
- Start laying from the outer edge and work inward.
- Use a level to make sure the boards lie straight and flat.
- Pre-drill to avoid splitting, especially near board ends.
- Finish with edge boards for a complete, polished look.
Finishing and maintenance
- Apply oil or stain after installation to protect against weather and wear.
- Repeat the treatment annually to preserve quality and appearance.
Use the deck calculator for efficient planning
Accurate planning is the key to a successful deck project. Use the deck calculator on this page to work out exactly how much decking and how many screws you need. That helps you avoid material waste and keeps the build efficient.
Plan your project today and get a professional result with correctly laid deck boards!