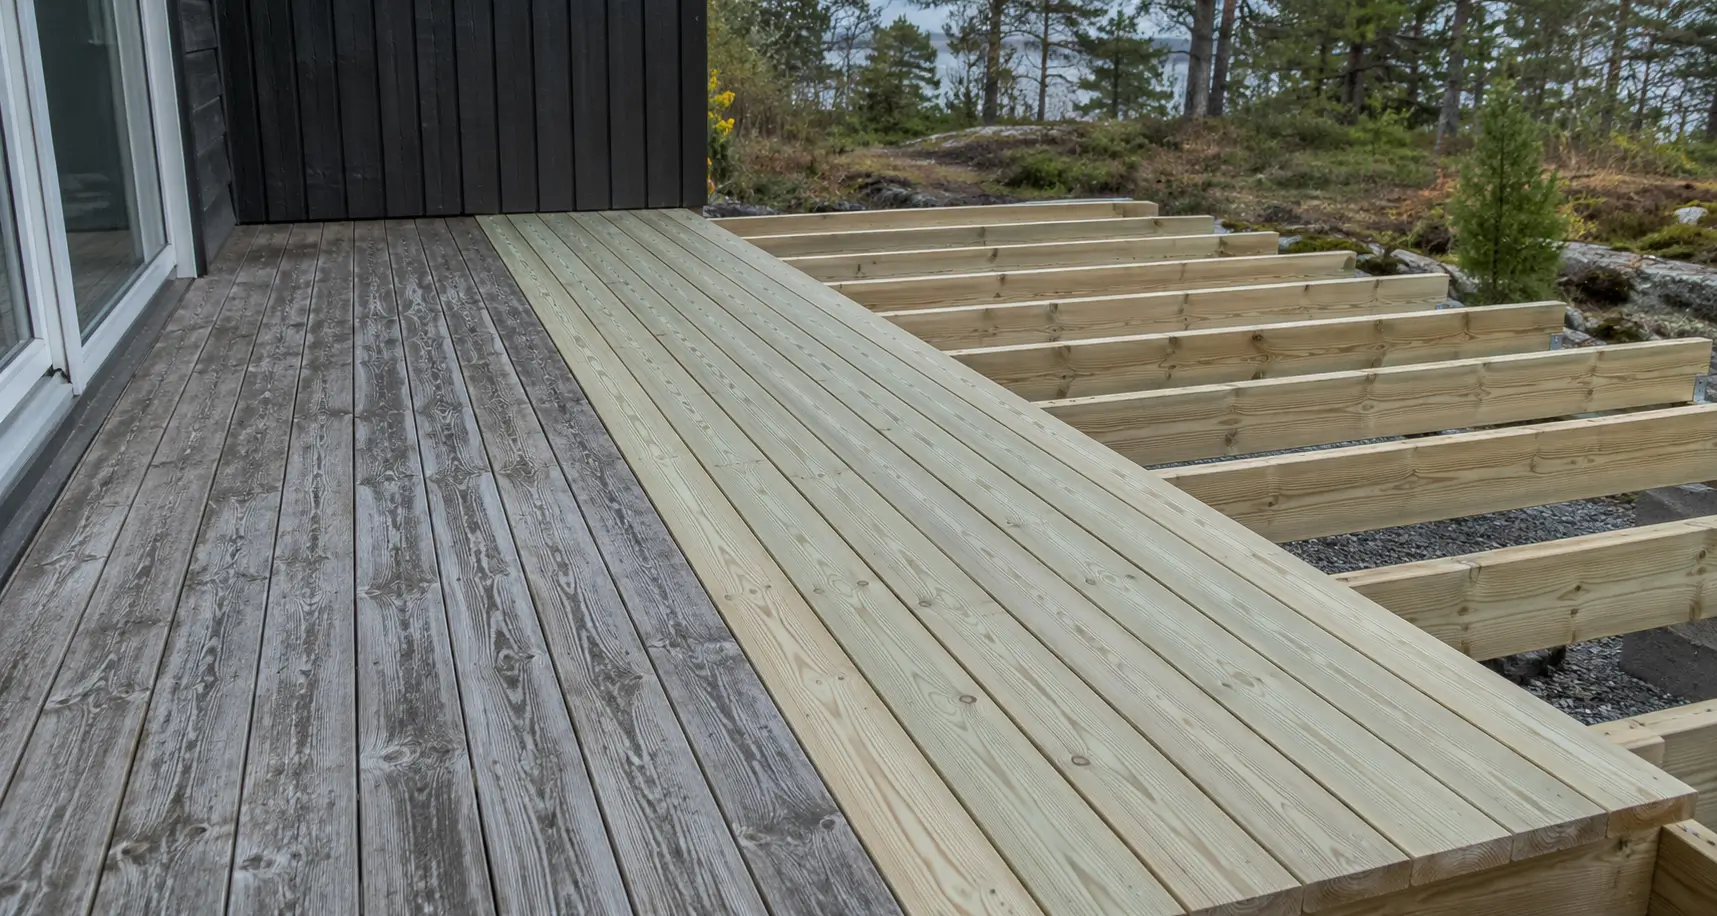
Expanding an existing deck gives you more room for relaxing, social zones, and functions like a dining area or grill corner – often at a lower cost than building from scratch. The key to a good result is three things: a solid foundation for the new section, a well-thought-out transition between old and new, and a correct material estimate for the extension alone.
Planning the extension
- Measure and sketch: Start by measuring the existing deck and the new area. Make a sketch to visualize how the extension will look.
- Consider purpose and use: Will the new section be used as a dining area, lounge zone, or grill spot? Define the use to decide on size and layout.
- Check the rules: An extension can trigger permit requirements even if the original deck was exempt – it is the combined size, height, and distance to property lines that count. See can you build a deck without a permit?
- Material choice: Choose deck boards and materials that match or complement the existing deck for a cohesive look.
How to get a seamless transition
The most common disappointment with extensions is that the line between old and new ends up too visible. You have two good strategies:
- Hide the transition: Use the same board type, dimensions, and laying direction as the existing deck. Remember that old boards have grayed – untreated new boards even out after a season or two, or you can finish the entire surface at the same time afterwards.
- Mark the transition on purpose: Lay the new boards in a different direction, or create a frame effect around the old surface. A deliberate contrast looks planned; an almost-matching surface looks accidental. The laying direction also affects cuts and runoff – see which way should deck boards run?
Either way, make sure the new boards sit flush in height with the old ones, and that the gap between boards is the same across the whole surface.
Create different levels and zones
- Level changes: Use level differences to define separate zones, such as a dining area, lounge corner, and sun deck. Remember that drops above roughly 0.5 m (20 in) normally need to be guarded, depending on local code.
- Steps as transitions: Build steps between the levels for both function and looks.
- Built-in benches and planters: Use these as natural room dividers and decorative elements.
Practical installation tips
- Foundation: Make sure the new section gets a stable base. Use point footings or concrete blocks depending on the terrain. Also assess whether the old structure can carry the connection to the new part, or whether it should be reinforced.
- Tying into the existing deck: Extend the joists with the same on-center spacing as the original and fasten the new framing securely to the existing structure for stability.
- Drainage: Remember to provide enough drainage to avoid standing water under the extension.
Design for function and style
- Pergolas and roofs: Add a cover or pergola for shade and weather protection.
- Lighting: Integrate lighting to make the deck inviting in the evening too.
- Textiles and furniture: Match furniture and textiles to the different zones to underline how each part is used.
Estimate materials for the extension alone
Use the calculator on this page with the dimensions of the new section, not the whole deck. Figure about 8.3 linear meters of decking per m² with 120 mm (4 3/4 in) boards – roughly 2.5 linear feet per sq ft – and 35–40 screws per m² (3–4 per sq ft), and add around 10 % waste allowance – preferably a bit more, since fitting against an existing surface often means extra cuts. See deck boards per square meter for the conversion from area to linear length.