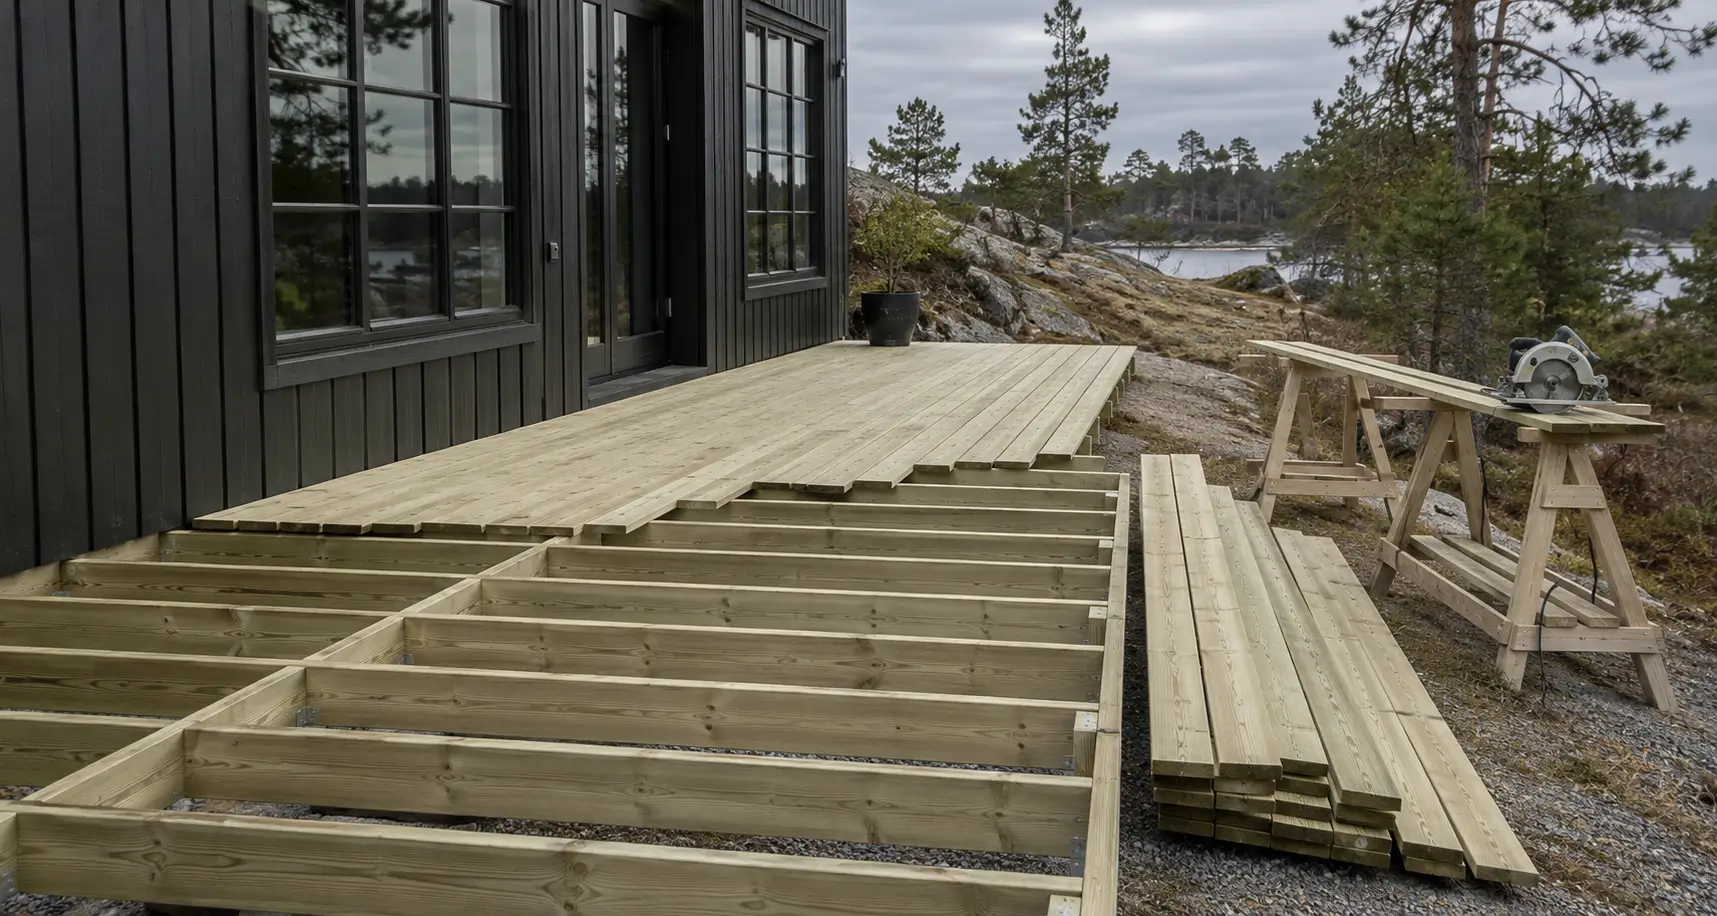
Building a deck yourself is entirely doable for most people with ordinary tools and a weekend or three to spare. The process always follows the same order: planning and rules, footings, framing, deck boards, and finally stairs, railings, and finishing. Here we walk through each step with concrete measurements and numbers, and link to in-depth articles where you need more detail.
1. Planning: measurements, rules, and a materials list
Start by measuring the area and marking it out with string and stakes. Decide on the size based on how the deck will be used – a dining set easily needs 3 × 3 m (about 10 × 10 ft) on its own, while a generous family deck quickly grows to 25–40 m² (roughly 270–430 sq ft).
Then check the rules. Permit requirements vary a lot by location: many areas exempt low, ground-level decks below a certain height and size, while raised or attached decks usually need approval. Read can you build a deck without a permit? before you buy materials, and confirm with your local building authority if in doubt.
Finally, put together the materials list:
| Material | Rule of thumb |
|---|---|
| Deck boards | about 8.3 linear meters per m² with 120 mm boards (roughly 2.5 linear feet per sq ft with 4 3/4 in boards) |
| Screws | 35–40 per m² (3–4 per sq ft) |
| Waste allowance | add about 10 % (15 % for diagonal layouts) |
The calculator on this page works out linear meters and screws for you. If you want to understand the numbers, deck board linear feet and meters explains the conversion from area to board length, and deck board waste allowance shows why the buffer matters.
Choose your material type early too: pressure-treated softwood is the cheapest, premium treated wood and modified timber need less maintenance, and composite is close to maintenance-free but more expensive. See the comparison of deck materials if you are unsure.
The tools you need
Most decks can be built with everyday equipment: tape measure, level, miter saw or circular saw, a drill with driver bits, string and stakes, a spade or post-hole auger for the footings, plus safety glasses and gloves. A collated screw gun saves a lot of time on the actual decking if the deck is large. You will find the full list in the deck building tool guide.
2. Groundwork and footings
A stable foundation is the difference between a deck that stays straight for ten years and one that goes crooked after two winters.
- Dig and level: Remove turf and high spots where the footings will sit, and lay a draining layer of crushed stone or gravel.
- Choose a footing type: Point footings (concrete blocks, post anchors, or ground screws) are enough for most decks. Larger or elevated structures may need poured concrete footings or a foundation wall.
- Number of support points: As a starting point, beams should be supported at least every 1.5–2 m (5–6.5 ft), depending on dimensions and load.
- Check the level: Use a spirit level and a straightedge – small errors here propagate upward through the whole structure.
Go deeper in the deck base guide, and remember that good drainage under the deck prevents rot and moisture damage.
3. Framing and substructure
Mount the beams on the footings with hardware and corrosion-resistant screws, then lay the joists across them:
- Joist spacing: 60 cm (24 in) on center is standard for 28 mm (about 1 in) deck boards. Use 40 cm (16 in) for thinner boards, diagonal layouts, or composite.
- Slope: Build in a gentle fall of 1–2 % away from the house so water runs the right way.
- Joints: Where deck boards will be butt-joined, you need a doubled joist or extra blocking.
- Moisture protection: Consider joist tape on top of the joists for a longer service life.
You will find the details in deck structure and framing basics and what joist spacing should you use for a deck?
4. Laying the deck boards
Now comes the visible part of the job:
- Choose the direction first: Boards run across the joists. The direction affects appearance, waste, and drainage – see which way should deck boards run?
- Start with a straight line: Lay the first board parallel to the house wall or the outer edge, and check that it is perfectly straight.
- Keep an even gap: 3–5 mm (about 1/8–3/16 in) between boards is a good starting point, adjusted for how wet the boards are. Use spacers – read more in deck board spacing.
- Fasten with two screws per joist: That works out to 35–40 screws per m² (3–4 per sq ft). Keep the screw lines straight and avoid driving screws too close to board ends.
- Plan the last board: Spread small adjustments over several rows so you do not end up with a narrow strip at the edge.
A more thorough walkthrough of laying patterns and fastening methods is in how to lay deck boards for a clean, professional result.
5. Stairs and railings
If the deck is raised off the ground, you need safe access and fall protection:
- Stairs: A riser height of about 15–18 cm (6–7 in) and a tread depth of at least 25 cm (10 in) makes a comfortable stair.
- Railings: Height differences above roughly 0.5 m (20 in) – the exact threshold depends on your local code – should normally be protected with a railing of at least 90 cm (36 in), with no more than 10 cm (4 in) between balusters.
See building deck stairs and railings for the procedure.
6. Finishing and final touches
Pressure-treated boards should dry for a season before you treat them. After that, oil or stain protects against moisture and UV, and should be repeated every 1–3 years. Sand any rough edges, check that all screws are properly seated, and consider finishing with fascia or picture-frame border boards for a complete look. More on product choice and application in how to finish and protect deck boards.
Finally: furniture, plants, and lighting turn the deck into a finished outdoor room – find ideas in decking accessories and outdoor details.
A suggested build schedule
Here is how the work can be split for a deck of around 20–30 m² (215–325 sq ft):
| Stage | Work | Time |
|---|---|---|
| Weekend 1 | Layout, digging, gravel, and footings | 1–2 days |
| Weekend 2 | Beams and joists, checking level and slope | 1–2 days |
| Weekend 3 | Laying deck boards | 1–2 days |
| Weekend 4 | Stairs, railings, fascia, and cleanup | 0.5–1 day |
Let poured footings cure for a few days, and check the forecast before laying boards – dry boards and a dry frame give a better result.
Common mistakes to avoid
Most problems with DIY decks trace back to three things: weak foundations, joist spacing that is too wide for the board type, and a materials estimate that is too tight. Build the substructure more thoroughly than you think you need, follow the on-center measurements above, and order with a waste allowance from the start. A full rundown of the pitfalls is in common deck building mistakes and how to avoid them.
Frequently asked questions
How long does it take to build a deck yourself?
For a typical deck of 20–30 m² (215–325 sq ft), plan on 2–4 weekends: one for groundwork and footings, one for framing, and one or two for decking, stairs, and finishing. Experience, terrain, and helpers make a big difference.
How much does it cost to build a deck yourself?
Material costs vary a lot by market and material choice – in the US, DIY materials often land somewhere around $15–$40 per square foot, with pressure-treated lumber cheapest and composite and modified wood at the top. Building it yourself typically saves about half the total price compared with hiring a contractor, but get local quotes before you budget.
Do I need a permit to build a deck?
Often not for low, ground-level decks, but the rules vary by country, state, and municipality – height above ground, attachment to the house, and distance to property lines all matter. Check the conditions in the article on deck permits and ask your local building authority if in doubt.
How much material do I need?
Figure about 8.3 linear meters of deck board per m² with 120 mm boards (roughly 2.5 linear feet per sq ft with 4 3/4 in boards) and 35–40 screws per m² (3–4 per sq ft), plus about 10 % waste. The calculator on this page does the math for you.
In what order do I build the deck?
Planning and rules → footings → beams and joists → deck boards → stairs and railings → finishing. Do not skip the footing and level checks – they are nearly impossible to fix later.